Thanksgiving Pumpkin Cake (Winston)
Allergy Friendly + Gluten Free + Vegan
 Makes:
1x 3-tiered 8" x 8" cake
 Prep Time:
1 hour 30 minutes, plus 1 hour inactive
 Cook Time:
30 minutes
 Difficulty:
Medium


Meet Winston, our Thanksgiving Pumpkin Cake! Kids love to bake and decorate this delicious cake. Start a new tradition by baking this cake year after year.
In This Recipe
Ingredients
For the Pumpkin Cake
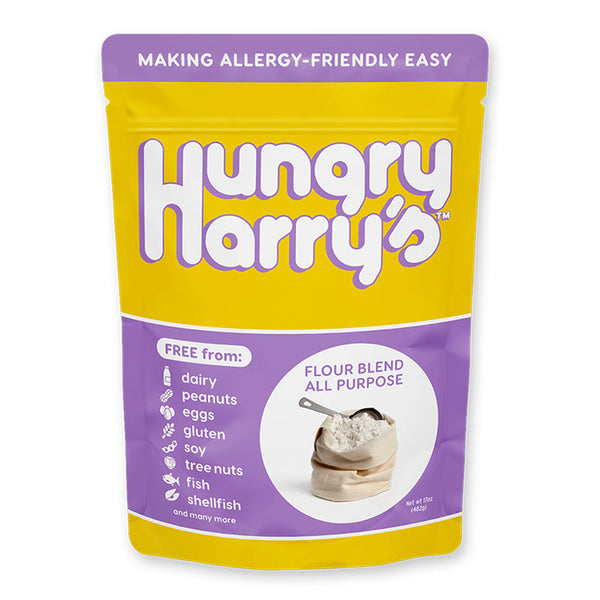
2 cups Hungry Harry's All Purpose Flour Blend
1/2 cup brown sugar
1 cup granulated sugar
1 teaspoon baking soda
1 teaspoon baking powder
1/2 teaspoon salt
2 teaspoons ground cinnamon
1/2 teaspoon ground cloves
1 1/2 cups pumpkin puree
1 teaspoon allergy friendly vanilla extract
1/4 cup vegetable oil
1 tablespoon apple cider vinegar
1 egg or egg replacer
For the Frosting
1/2 cup unrefined coconut oil
7 cups of confectioners sugar (two 16 oz bags)
4 teaspoons milk of choice
2 teaspoons gluten-free vanilla extract
1/2 cup cocoa powder
For Winston's Feathers
How To:
1. For the Pumpkin Cakes: Preheat your oven to 360° F. Prepare three 8-inch cake pans with your preferred oil, or line completely with parchment paper.
2. Mix all dry ingredients in one bowl, and all wet ingredients in another. Fold the wet ingredients into the dry ingredients.
3. Divide the cake batter evenly between the cake pans. Bake for 25 - 30 minutes, until an inserted toothpick in the center comes out cleanly.
4. Remove the cakes from the pans and chill in the refrigerator or freezer for one hour, until completely cool. Make the frosting and feather decorations while the cake cools.
5. While the cakes are cooling, make the frosting. With a stand mixer or hand mixer, beat the coconut oil until light, fluffy, and smooth.
6. With the mixer on low speed, slowly add the vanilla, half of the confectioners sugar, and half of the milk. Slowly add the remainder of the confectioners sugar, all of the cocoa powder, and then the remainder of the milk.
7. Beat until completely smooth and lump-free.
8. Make the feathers. Decide how many colors you'd like to make, then separate the white chocolate chips into that number of microwave safe bowls, one bowl for every color of food dye.
9. Microwave each bowl separately on high to melt the chocolate. Stir every 10-15 seconds so as not to burn the chocolate. Once melted, remove from the microwave and stir in your food coloring.
10. Line a baking tray with parchment paper, then pour each of the melted chocolate colors into a thin, even layers. Leave at least 1/2 inch of space between each color for the chocolate to spread. They should not touch.
11. Chill in the refrigerator or freezer until completely set and ready to assemble.
12. To begin assembly, set aside 1 cake. Carefully slice the dome tops from two of the cakes. Place one of these cakes on a plate bottom side up.
13. Scoop 1/2 cup of chocolate frosting on top of this cake, then spread the frosting evenly with a large offset spatula. Layer on the second cake, bottom side up. Repeat the process, spreading 1/2 cup of chocolate frosting evenly on top of this layer.
14. Top with the final cake, dome side up. Spread1/2 cup of chocolate frosting evenly on top of it.
15. Use the remainder of the frosting for the sides of the cake, using your offset spatula to spread the chocolate frosting onto the sides.
16. Remove the tray of colored white chocolate from the refrigerator. Break off large "feather" pieces, and gently poke them into the top of the cake. Reserve a small piece of yellow for the beak, red for Winston's wattle, and white and blue or brown for his eyes. Use a little leftover frosting to attach these pieces.